Testing a drone for the first time is an exciting experience, but it requires careful preparation to ensure both your safety and the drone’s functionality. Here’s a step-by-step guide on how to test fly a drone:
- Prepare the Drone: Begin by assembling your drone, attaching the propellers securely, and ensuring the battery is fully charged. Make sure the drone is free of any obstructions or dirt that could interfere with its performance.
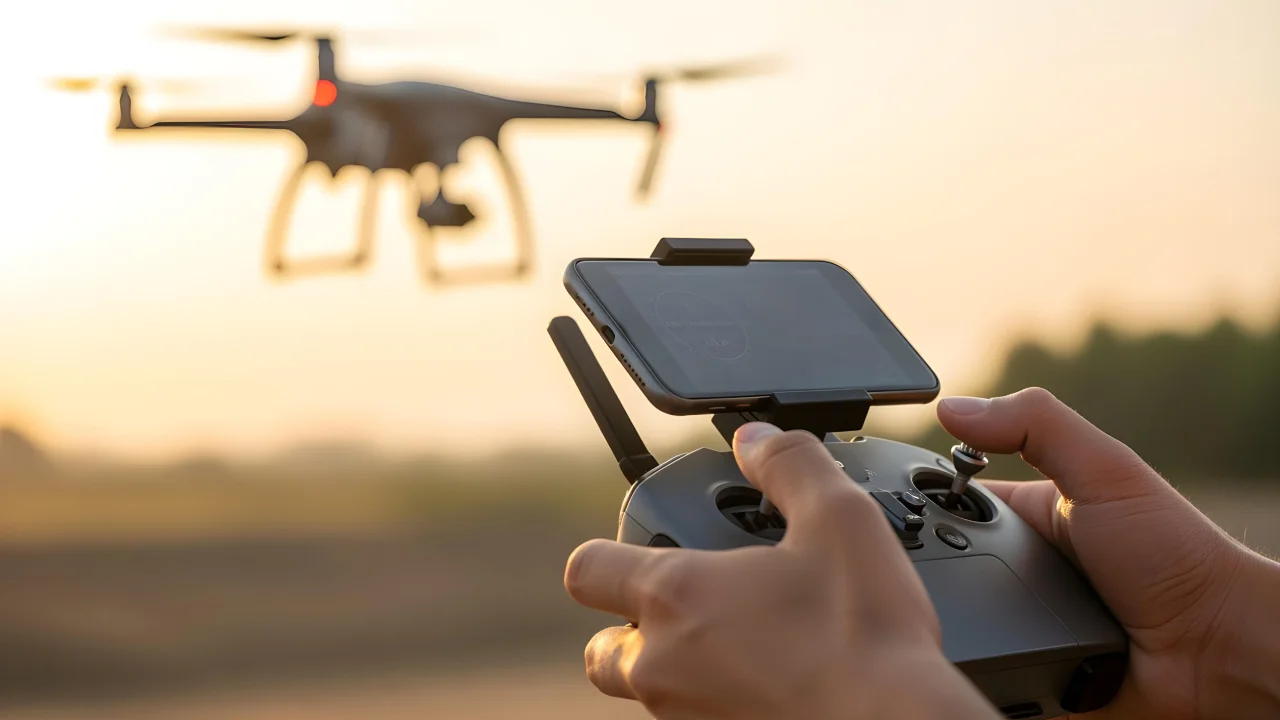
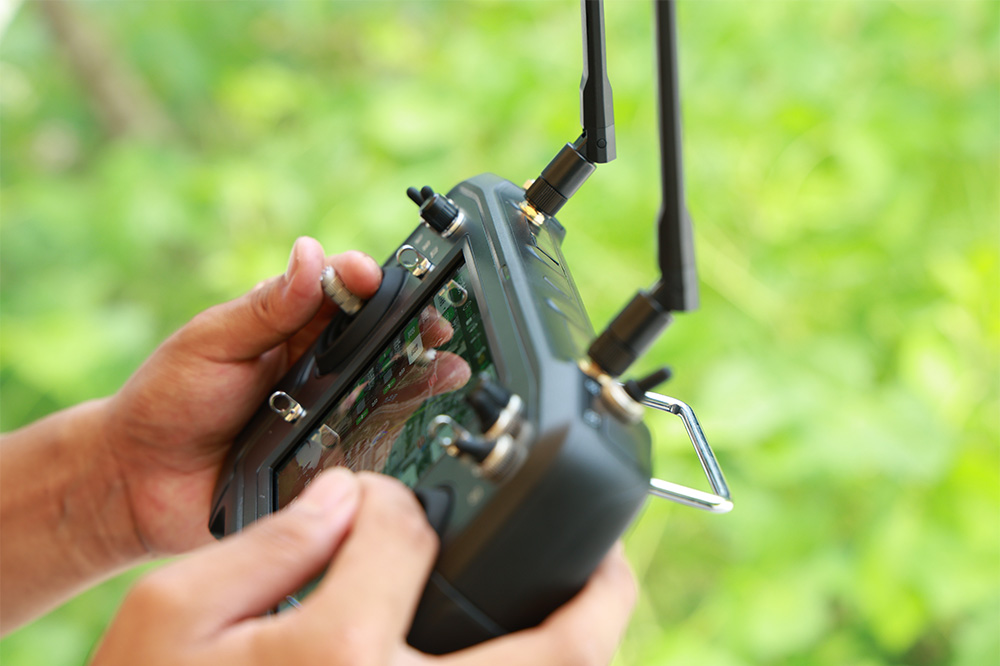
- Check the Controller: Ensure that the remote control or mobile app is connected to the drone and functioning properly. Double-check the settings to make sure everything is configured for a test flight.
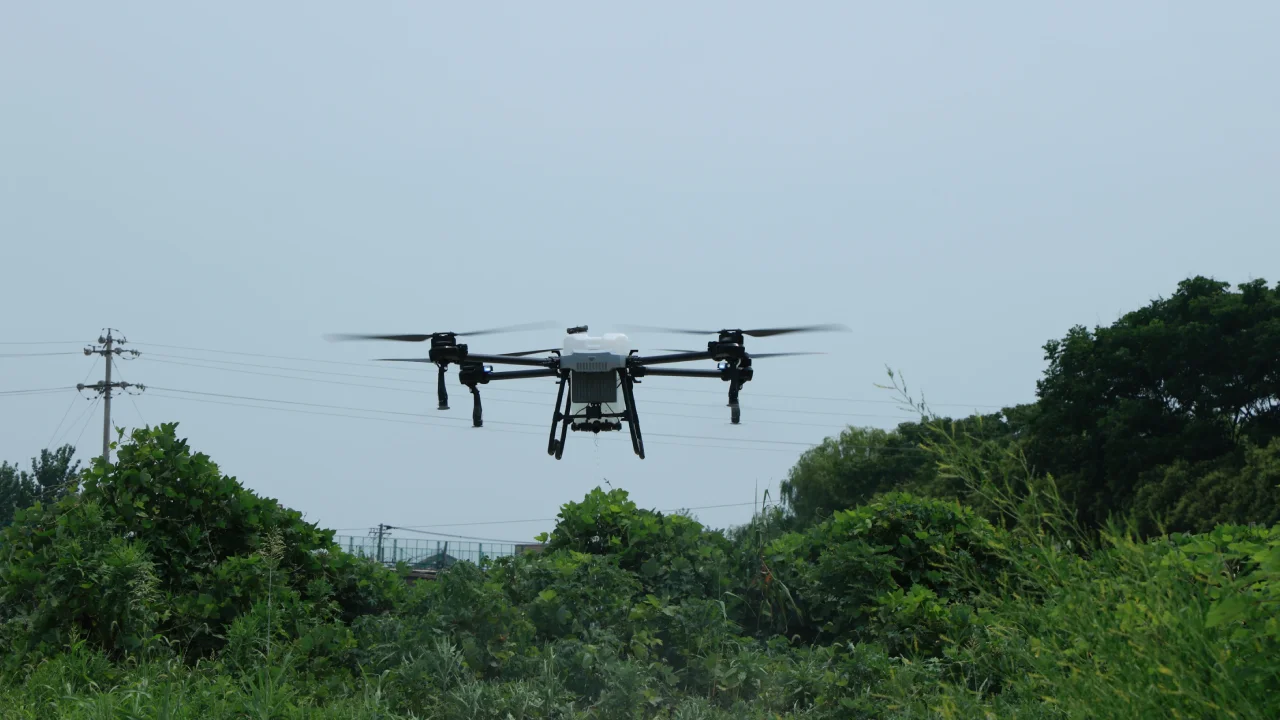
- Find a Safe Location: Choose an open, spacious area away from people, animals, and obstacles like trees or buildings. A wide, flat area, such as an empty parking lot or open field, is ideal for the first flight.
- Perform Pre-Flight Checks: Before taking off, inspect the drone’s motors, propellers, and camera (if applicable) for any damage or loose parts. Calibrate the drone’s compass and gyroscope according to the manufacturer’s instructions.
- Take Off Slowly: Start by lifting the drone slowly off the ground. Keep the throttle low to ensure stability. Once airborne, hover in place to check how the drone responds to controls.
- Test the Controls: Gently test the forward, backward, left, and right controls. Pay attention to the drone’s responsiveness. If the drone seems unstable or unresponsive, land immediately and troubleshoot.
- Land Safely: After a few minutes of controlled flight, gradually lower the drone and land it